Getting Started with Duty Reporting
Download this page as PDF in English
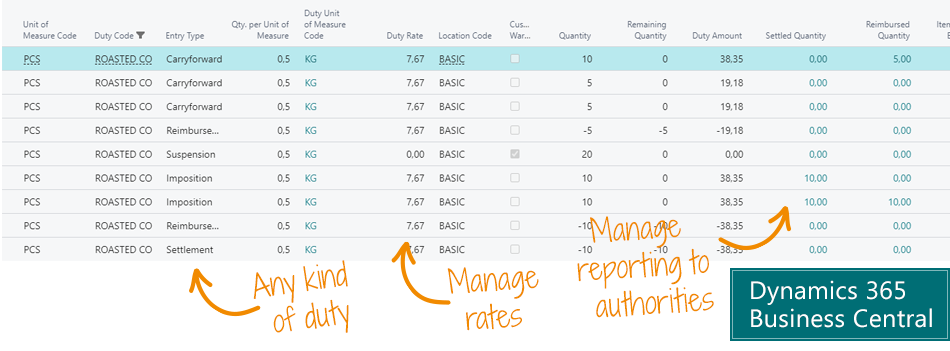
Welcome to Abakion’s Duty Reporting app which helps you to automate calculation and reporting of excise duties.
This document will help you get started with the app by guiding you through the essential setup. If you need anything further, you are most welcome to reach out to Abakion.
TEST IN A SANDBOX
You have chosen to evaluate or get started with Duty Reporting for Dynamics 365 Business Central, and you can easily test and evaluate the solution yourself.
You should always test in a sandbox before you deploy a new app to your production environment. This is always a good idea.
INSTALLATION
The first step is to install the app from Microsoft AppSource. Once you’ve done that, check your Role Center in Business Central for a notification at the top of the screen about Dty Reporting. If a notification appears, the app requires necessary information, and then you must start by following the instructions in the notification.
When you’re done with that, the app is installed and ready.
DUTY
After installing and activating the app in your D365 Business Central search for “Duty” – and from there create the Excise Duties you need in your setup. The field “Warehousekeeper” determines if the the duties are only applied on outbound transactions. If the “Warehousekeeper”-field is not checked duties will be applied upon purchase. The Item Charge No. is a reference to the different Item Charges that define the posting setup for the Duties.
Below is an example.

DUTY RATE
Now we need to register the duty rates by opening the menu item “Duty Rates”. The rate is entered in the unit of measure it should be settled on the basis of (see above). The price is entered in the currency that the duty should be paid in.

Custom Warehouse Setup
If any of the duties has been created with “Warehousekeeper”-option enabled, you need to register which locations can be used to store duty-free items.
“Allow Output Posting” means that it is possible to post from assembly and production orders into this location.
“Allow Duty-free Consumption” means that you can post consumption to assembly and production orders from this location without applying duties.
If you need to transfer items between two locations with “Warehousekeeper” the transit location needs to be specified as well.

Duty Posting Setup
The Duty Posting Setup needs to define which General Business Posting Groups from which we receive and send duty-free items. Default the domestic posting group will not be recorded. However, if you receive goods without taxes from domestic vendors, we recommend setting up a posting group for these.

Item Duties
Now we need to define the duty ‘consumption’ for each item. You can do this directly from the Item-card or by searching for “Item Duty setup”.


Duty Exemptions
If you have domestic clients for which we have not added a duty-free posting group, but which can receive duty-free items because of special agreements with authorities – we can via the Customer card record their Duty Exemption.

Choose the specific duty codes from which this customer is exempt.

Duty Posting
With this setup we are now ready to post the first transactions which will be picked up by the Duty Reporting app. Notice that already existing inventory will not be picked up since the Duty Reporting App records only duties when we put items in stock.

SUPPORT
Abakion Front Desk is ready to assist you in all phases of the process. If you have a support agreement with Abakion, contact us on +45 70 23 23 17 or frontdesk@abakion.com.
If you haven’t subscribed to Document Customizer yet, reach out to us at appsales@abakion.com. Then we’ll help you get started.
Automate calculation and reporting of excise duties with Duty Reporting
