Getting Started with Document Customizer
Download this page as PDF in English
1. TEST IN A SANDBOX
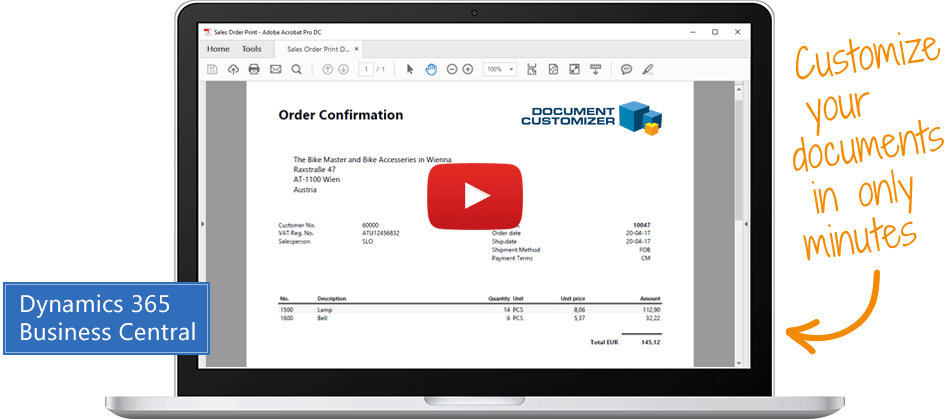
You have chosen to evaluate or get started with Document Customizer for Dynamics 365 Business Central, and you can easily test and evaluate the solution yourself.
You should always test in a sandbox before you deploy a new app to your production environment. This is always a good idea. However, in this particular case, it is actually possible to preview the new document layout without deploying the solution.
2. INSTALLATION
The first step is to install the app from Microsoft AppSource. Once you’ve done that, check your Role Center in Business Central for a notification at the top of the screen about Document Customizer. If a notification appears, the app requires necessary information, and then you must start by following the instructions in the notification.
When you’re done with that, the app is installed and ready.
3. DATA
It is important to point out that the Document Customizer only works if there is data in the Business Central database. There must be a document in order for the Document Customizer to show you the document layout.
There also needs to be data in a field for the field to be displayed on a document.
If you have installed Document Customizer on a blank test-installation of Business Central, then you need to create data to test the app.
4. ASSISTED SETUP
When you have activated the app, a wizard will automatically open, teaching you how to customize the first documents. This wizard is called Assisted Setup.
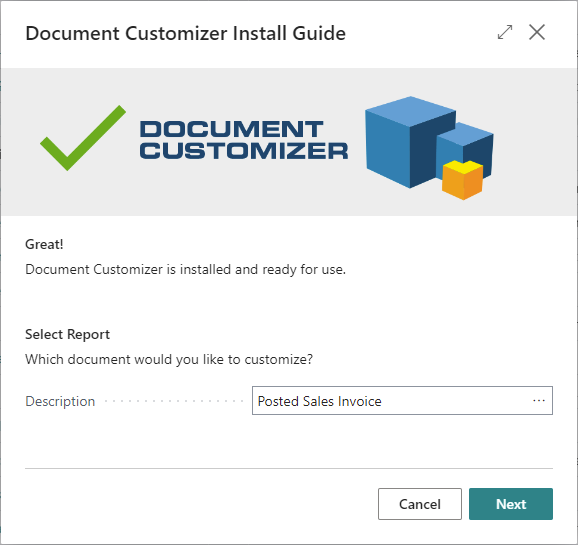
The first step in the wizard is for you to select a document. The 4 most common documents are included in the Assisted Setup, but the Document Customizer supports 27 different documents.
However, we recommend that you start with one of the 4 most used documents. Start, for example, with your posted sales invoice.
You can immediately press the Preview button and then you can see how the posted sales invoice looks with the Document Customizer’s default layout.
This means that you can evaluate the Document Customizer without putting the solution into operation. With the Preview function, you can test different designs of the sales invoice without actually applying the solution in your production environment.
If you are not satisfied, you can cancel the wizard and uninstall the app, and then everything is cleaned up.
In the next steps of the Assisted Setup, you will learn how to edit the layout of a document.
You should know that you cannot change the framework and structure of a document template, but you can, on the other hand, change a great deal of the content.
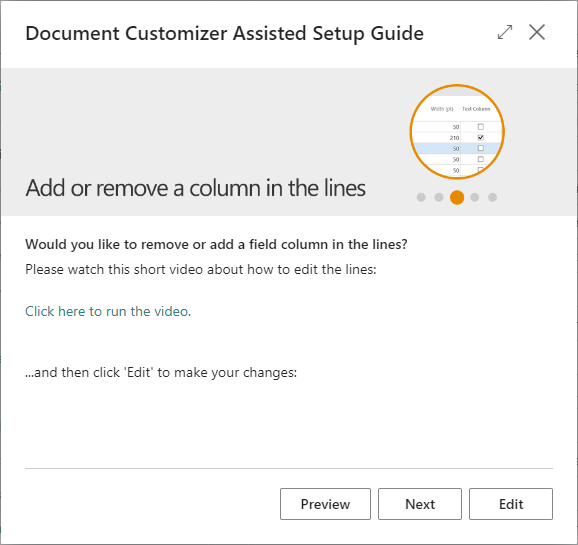
Assisted Setup guides you in adding and removing data in the header, lines and footer of the document.
In each step of the Assisted Setup, you can begin by watching a video explaining how the function works, and afterwards you can do the same on the document you have chosen.
5. ACTIVATE THE DOCUMENT
At the end of the Assisted Setup, you can press Preview to see the finished document, and now you can choose whether you want to activate the document.
If you choose to activate the document, Business Central will from that point on use your new layout for the document.
You have now finished editing your first document.
You can choose to run Assisted Setup again for a different document, but you also have more advanced features available. Your documents may need to support multiple languages or exist in multiple variants.
6. LEARN THE FUNCTIONALITY
Once you’re comfortable with the basic editing that the Assisted Setup teaches you, you’re ready for the next step.
We recommend watching the instructional videos on Use Dynamics to learn all the features of the Document Customizer: usedynamics.com/document-customizer
It is a guided course of 70 instructional videos that take you through the following functional areas:
- Introduction
- Headers, lines and footers
- Special features
- Language handling
- Document variants
- Installation & activation
- Examples of user stories
7. DOCUMENT CUSTOMIZER SETUP
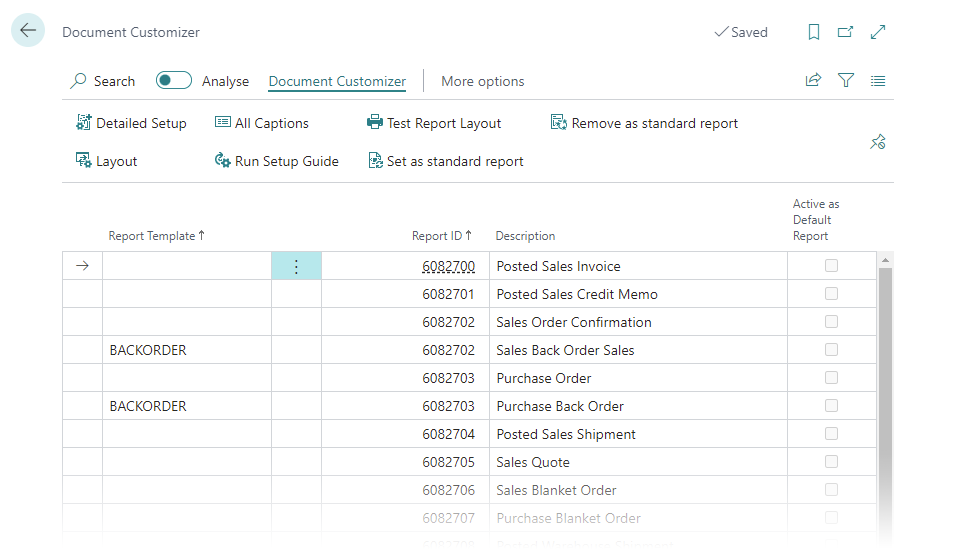
Then you can open the page in Business Central called Document Customizer Setup. It shows you a list of all the documents that you can edit in Business Central. Here you have all setup and editing options available.
8. ASSISTANCE
In most cases you probably don’t need help, but there may be some situations where you need to draw on our expertise.
If you want to include data on a document that belongs to another table in Business Central, then in some cases it can be done, but it requires help. However, it should be mentioned that if you use the Master Data Information solution, Master Data can of course be added to documents that have been edited with the Document Customizer.
If you want several versions of a document, e.g. if you have variants of sales invoices for certain customers or customer groups, then we recommend that you start with the invoice layout that should be used in most cases, and then add the variants that are used less frequently. It’s often something that you can handle yourself, but it is fine to ask us for advice if you’re in doubt.
A logo is quite simple to add to a document, but the location is determined by the template. You can’t just place graphics wherever you want. You can, on the other hand, use a background image. However, Business Central is a little tricky when it comes to background images. It must be PNG format in 713×1009 pixels. The resolution is 96 dpi. And Business Central has a margin of 1.5 cm on all documents. So, there are some limitations to how a background image can be used, and it may require some help.
9. ADD-ONS
Document Customizer works well with some other apps.
If you want Master Data printed on documents, take a look at Master Data Information. If you want to send documents via email, look at Document Handling.

SUPPORT
Abakion Front Desk is ready to assist you in all phases of the process. If you have a support agreement with Abakion, contact us on +45 70 23 23 17 or frontdesk@abakion.com.
If you haven’t subscribed to Document Customizer yet, reach out to us at appsales@abakion.com. Then we’ll help you get started.
Document Customizer makes your documents look good